 English
 中文简体
中文简体 русский
 عربى
عربى

Content
- 1 What a Fusion Machine for HDPE Pipe Actually Does
- 2 Core Components of Butt Fusion Welding Machines
- 3 How the Butt Fusion Process Works Step by Step
- 4 Fusion Parameters That Determine Joint Quality
- 5 Manual vs Hydraulic vs Automatic Fusion Machines: Choosing the Right Type
- 6 Common Fusion Defects and How to Prevent Them
- 7 Maintenance Practices That Extend Machine Service Life
- 8 Frequently Asked Questions
- 8.1 What pipe sizes can a typical fusion machine for HDPE pipe handle?
- 8.2 Can a butt fusion machine join PP or PVDF pipe as well as HDPE?
- 8.3 How long does a single butt fusion joint take from start to finish?
- 8.4 Do fusion machines need electrical power on site, or can they run off-grid?
- 8.5 What is the difference between fusion pressure and heat soak pressure?
- 8.6 How can I tell if a fusion joint was made correctly after the fact?
What a Fusion Machine for HDPE Pipe Actually Does
A fusion machine for HDPE pipe joins two pipe ends into a single, monolithic length of pipe by heating both faces to a controlled melt temperature and then pressing them together under a set force until the joint cools. There is no glue, no solvent and no mechanical fitting involved. Once the joint cools, the fused zone is stronger than the surrounding pipe wall in most pressure ratings, which is why municipal water networks, gas distribution systems and industrial piping all rely on this method rather than threaded or flanged connections for continuous runs.
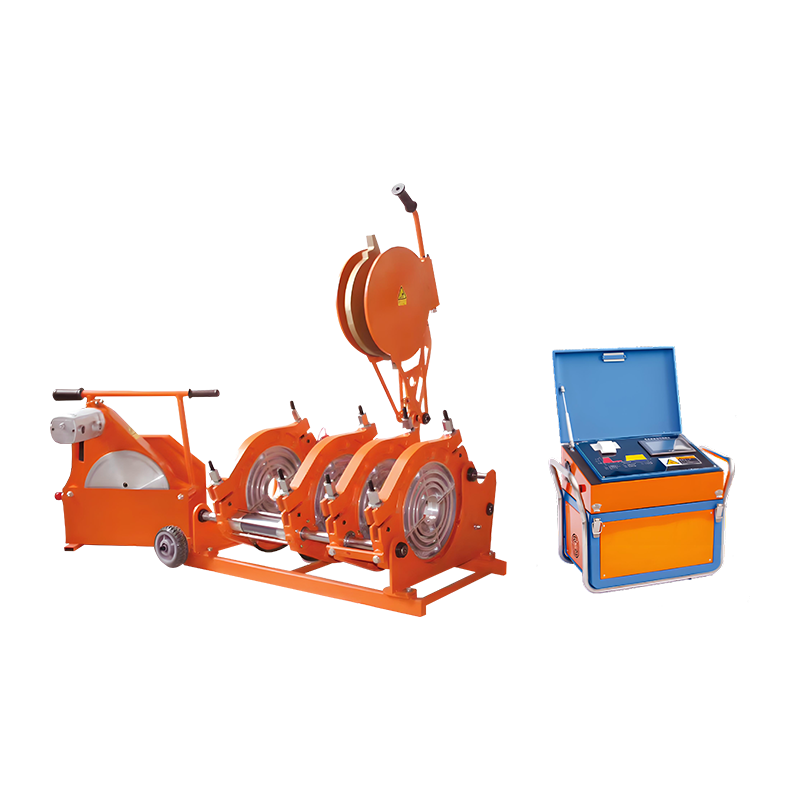
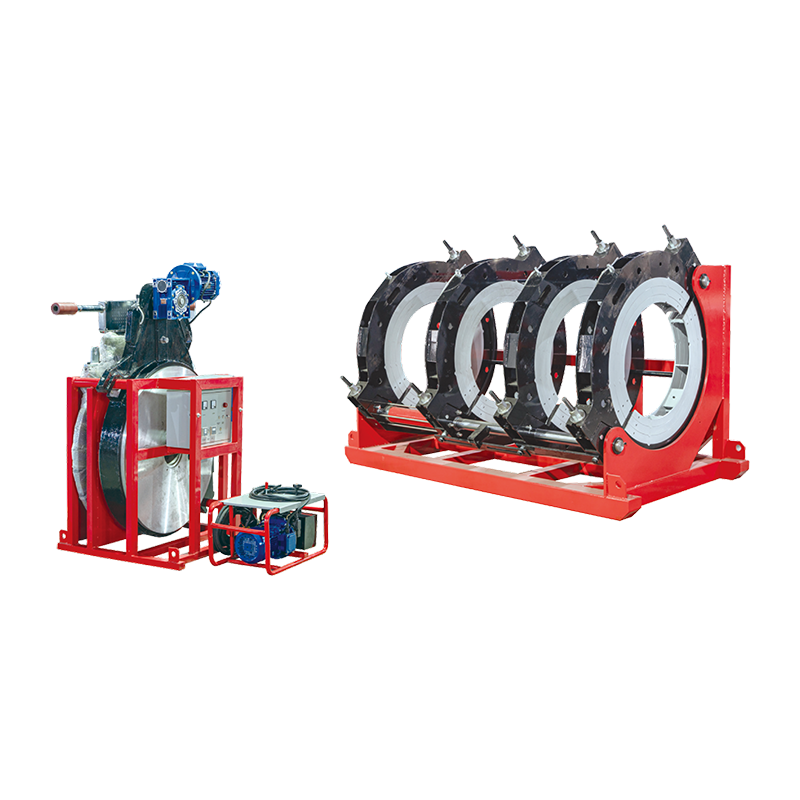
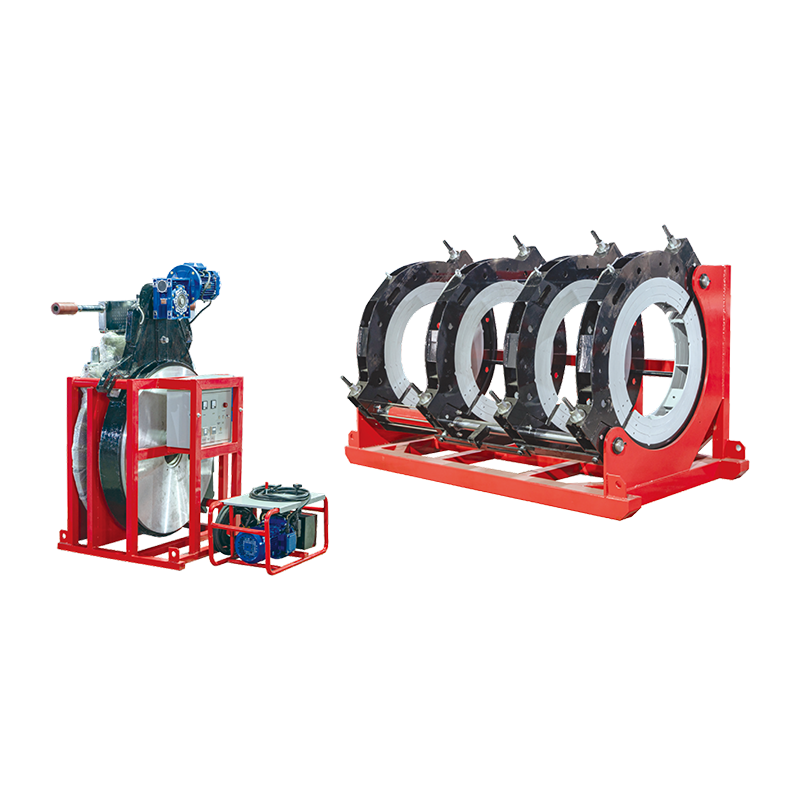
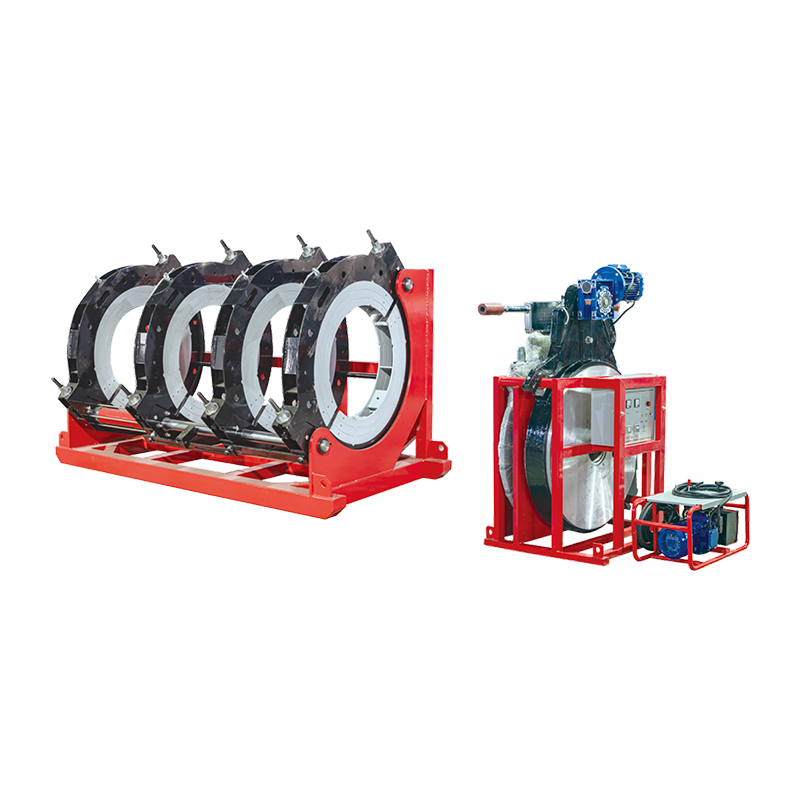
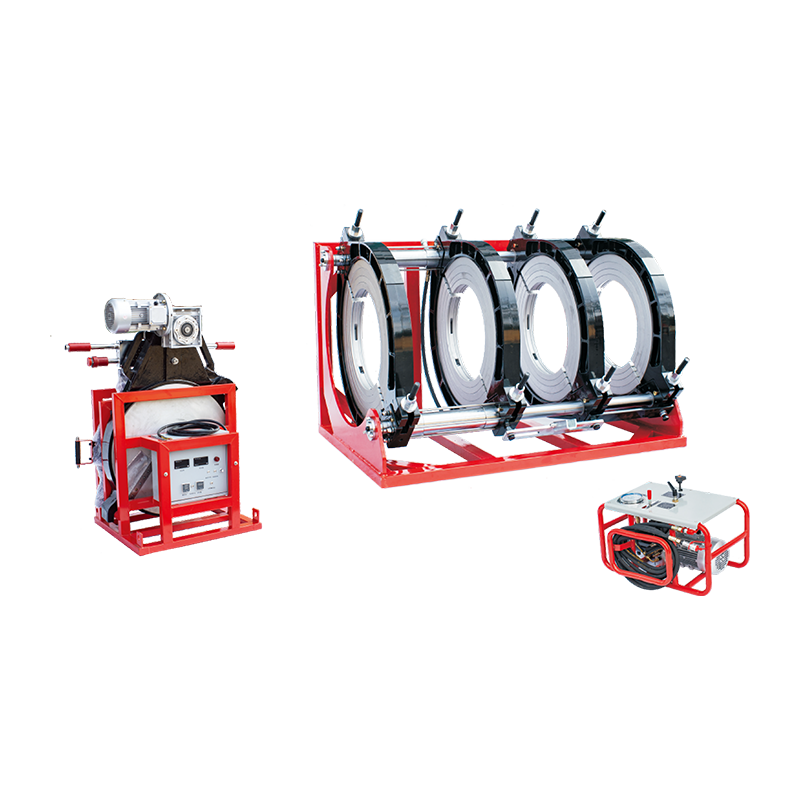
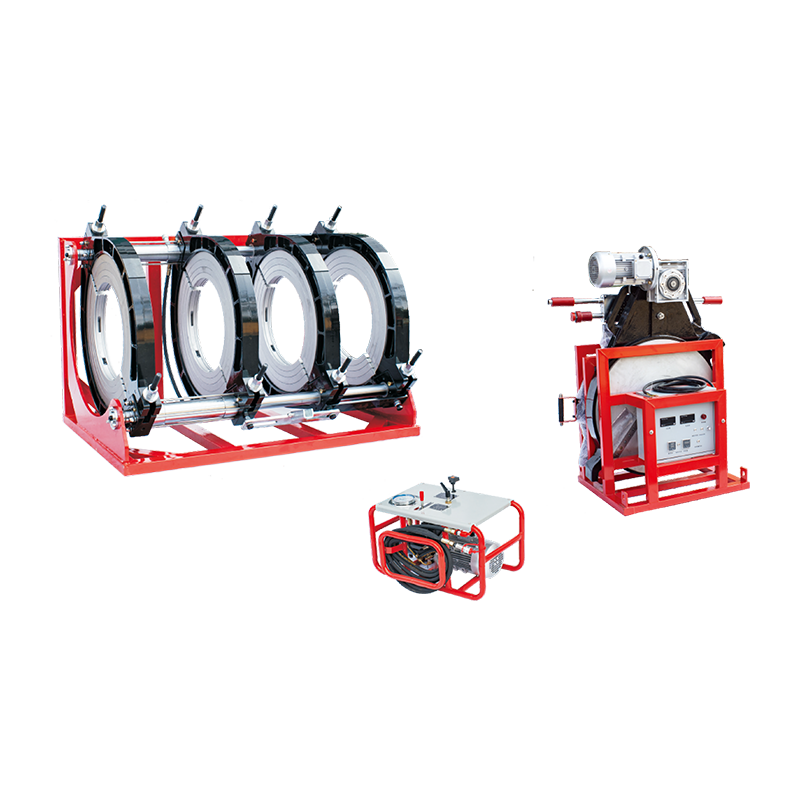
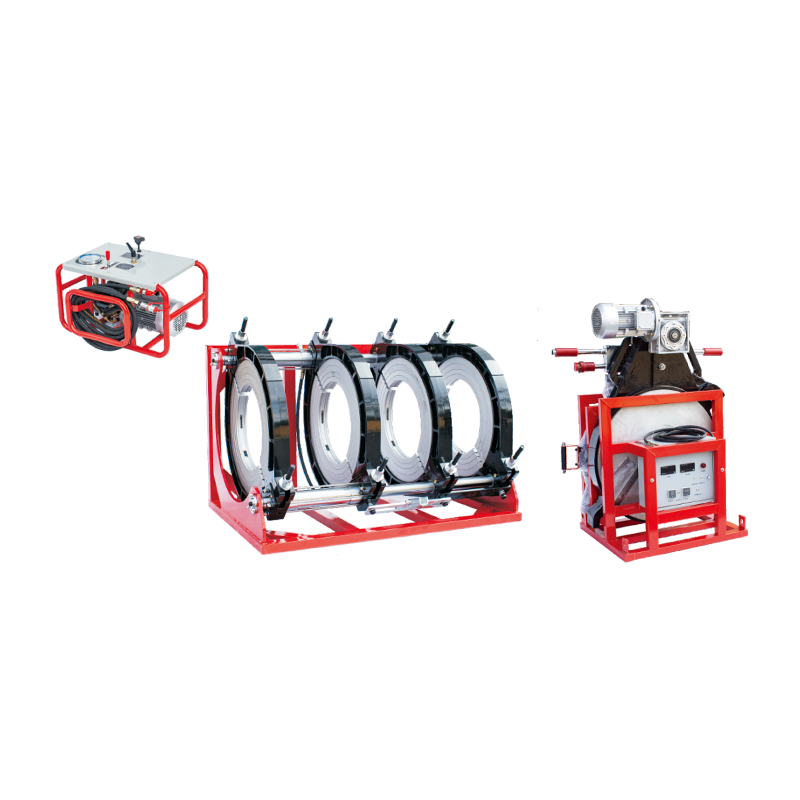
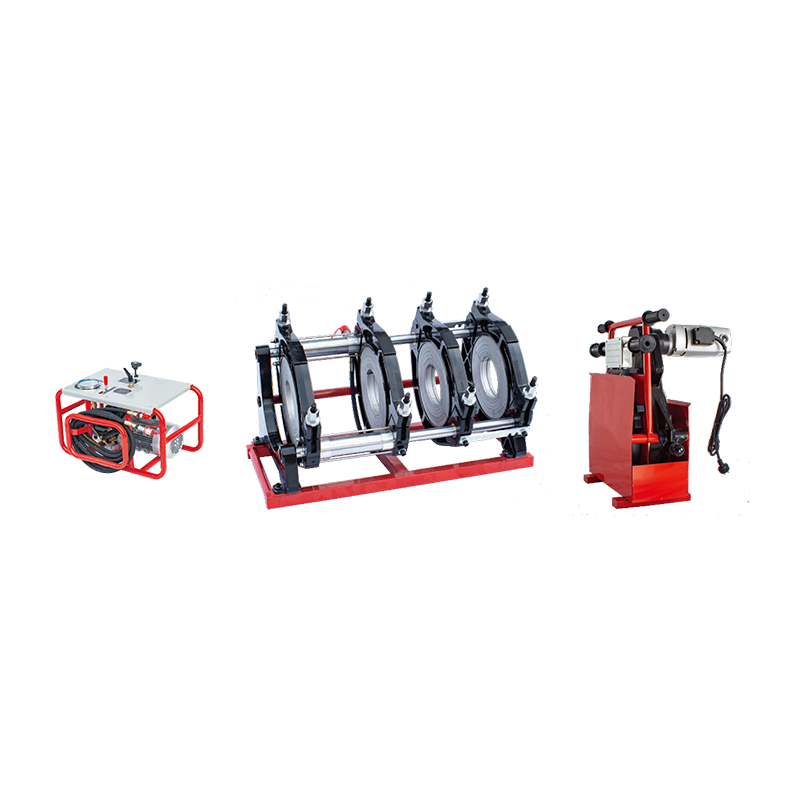
Machines built for this job are usually called Butt Fusion Welding Machines, and they range from compact hand-operated carriages for 2 inch pipe up to hydraulic frames capable of handling pipe over 60 inches in diameter. The size, clamp configuration and control system change with pipe diameter, but the underlying four steps stay the same: clamp, face, heat soak, then fuse under pressure while the joint cools.

Core Components of Butt Fusion Welding Machines
Every butt fusion machine, regardless of size or brand, is built from the same four functional groups. Understanding what each part does makes it much easier to compare machines from different manufacturers, since spec sheets tend to describe these parts using slightly different terminology.
| Component | Function | What to check when buying |
|---|---|---|
| Clamping frame / carriage | Holds both pipe ends in fixed alignment during facing, heating and fusion | Number of clamp inserts, whether a middle clamp can be repositioned for fittings |
| Facing tool (trimmer) | Planes both pipe ends flat, parallel and free of oxidized material before fusion | Manual crank vs electric trimmer, blade replacement cost |
| Heating plate | Brings both pipe faces to melt temperature evenly across the full cross-section | Non-stick coating condition, plate surface temperature uniformity |
| Hydraulic or manual pressure system | Applies and releases the interfacial fusion force at each stage of the cycle | Pressure gauge accuracy, whether pressure can be held automatically during cooling |
| Control unit / data logger | Times the heat soak, changeover and cooling stages, and records the fusion cycle | Onboard data logging for traceable joint records on larger diameter jobs |
On smaller manually operated units built for 2 to 8 inch pipe, the heater and trimmer typically run on standard 110V or 220V single-phase power and draw around 1,000 watts each, which lets a two-person crew fuse pipe on a job site without a large generator.
How the Butt Fusion Process Works Step by Step
The sequence below follows the standard practice used across manual, hydraulic and fully automatic machines. Skipping or rushing any stage is the single biggest cause of weak joints in the field.
- Clean both pipe ends with a lint-free wipe to remove dirt, oil or moisture picked up during storage and handling.
- Clamp the pipe sections into the machine, one end fixed and one end on the moving carriage, and check roundness and alignment.
- Face both ends with the trimmer until they are flat, parallel to each other and free of any oxidized surface layer.
- Bring the pipe ends against the heated plate under an interfacial pressure of roughly 60 to 90 psi until a small melt bead forms, then drop the pressure to near zero for the heat soak period.
- Quickly remove the heater plate, inspect both molten faces for contamination, and bring the pipe ends together within a few seconds.
- Apply and hold the fusion pressure while the joint cools undisturbed in the clamps, without moving or stressing the pipe.
- Release the clamps only after the full cooling time has elapsed, then allow additional unrestrained cooling before the pipe is moved or pressurized.
Heater plate temperature for most HDPE resins falls between 400 and 450 degrees Fahrenheit (204 to 232 degrees Celsius), and cooling time is generally figured at around 11 minutes for every inch of pipe wall thickness. Thicker-walled, larger-diameter pipe therefore needs noticeably longer in the clamps than a thin-wall small-diameter joint, which is a common scheduling mistake on tight job timelines.

Fusion Parameters That Determine Joint Quality
Two joints made from the same pipe resin can behave very differently in service if the fusion parameters were not controlled. The table below summarizes the ranges most commonly used in North American field practice.
| Parameter | Typical range | Why it matters |
|---|---|---|
| Heater plate temperature | 400 to 450 degrees F (204 to 232 degrees C) | Too low leaves a weak, incompletely melted interface; too high can degrade the resin |
| Interfacial fusion pressure | 60 to 90 psi (varies by pipe SDR and diameter) | Drives melt flow and bead formation without squeezing molten material out of the joint |
| Heat soak time | Set per pipe wall thickness, until bead reaches specified size | Ensures the full wall thickness reaches fusion temperature, not just the surface |
| Changeover time | Only a few seconds | Longer changeover lets the molten faces cool and skin over before contact |
| Cooling time | About 11 minutes per inch of wall thickness | Premature unclamping can distort the joint before it has fully set |
These figures line up with widely used North American field practice under ASTM F2620, while European projects following ISO 21307 or DVS 2207 use somewhat different pressure staging. Anyone fusing pipe destined for a specific water utility or gas company should confirm which parameter set that utility expects, since the fusion procedure is normally tied to the pipe manufacturer's own instructions rather than a single universal number.
Manual vs Hydraulic vs Automatic Fusion Machines: Choosing the Right Type
The right machine class depends almost entirely on pipe diameter and daily production volume, not personal preference.
| Machine type | Common pipe range | Best suited for |
|---|---|---|
| Manual hand-crank / hand-push | 63 to 250 mm (2 to 8 inch) | Service line repairs, small water and gas distribution work, one or two operators |
| Semi-automatic hydraulic | 160 to 800 mm | Municipal mains, industrial process piping, jobs requiring repeatable fusion pressure |
| Fully hydraulic / automated | Up to 1,800 mm (70 inch) and larger | Large transmission mains, mining slurry lines, high-volume infrastructure projects |
As diameter increases, the force needed to press the pipe faces together grows quickly, since fusion force is a function of pipe cross-sectional area rather than diameter alone. That is why anything past roughly 6 to 8 inches almost always moves to hydraulic clamping instead of a hand crank.
Common Fusion Defects and How to Prevent Them
Most joint failures trace back to one of a small number of preventable mistakes rather than a defective machine.
- Cold fusion: heater plate temperature or heat soak time was too low, leaving an incompletely melted interface that looks acceptable from the outside.
- Misalignment: pipe ends were not on a common axis before facing, leaving a step or offset at the joint.
- Contamination: dirt, moisture or facing chips were not fully cleaned from the pipe ends before heating.
- Carbon black banding: uneven distribution of carbon black in the resin creates a visible dark line at the joint interface, which should be inspected during bead removal.
- Disturbed cooling: moving, bending or pressurizing the pipe before the full cooling time has passed.
Visual inspection of the fusion bead after the joint has cooled catches most of these problems early. A properly fused bead is uniform, rolled evenly around the full pipe circumference, and shows no visible gap, discoloration or particulate matter at the interface.

Maintenance Practices That Extend Machine Service Life
Fusion equipment sees repeated heat cycling and hydraulic loading, so a short maintenance routine pays off in fewer failed joints and less downtime on site.
Heater plate care
Wipe the coated surface after every use while it is still slightly warm, using a dry, lint-free cloth. Scraping the coating with metal tools removes the non-stick layer and leads to resin sticking on future joints.
Trimmer blade condition
Dull facing blades leave rough, torn surfaces instead of a clean plane, which shows up later as a weak or contaminated fusion interface. Blades should be checked for chips or dullness at the start of each shift.
Hydraulic system checks
Check hydraulic fluid level and look for hose wear or seal leaks before each job, since a slow pressure drop during the fusion cycle is difficult to notice without a calibrated gauge and can silently produce weak joints.
Calibration
Heater plate surface temperature drifts from what the control box display shows over time. A handheld pyrometer check before the first joint of the day, and periodically through a long shift, catches this drift before it affects a run of joints.
Frequently Asked Questions
What pipe sizes can a typical fusion machine for HDPE pipe handle?
Manual machines commonly cover 2 to 8 inch (63 to 200 mm) pipe, hydraulic units extend that range to roughly 800 mm, and large infrastructure machines can fuse pipe up to 1,800 mm in diameter. Insert clamps let a single frame cover several sizes within its rated range.
Can a butt fusion machine join PP or PVDF pipe as well as HDPE?
Many manual and hydraulic butt fusion machines are rated for PP, PVDF and PB pipe in addition to HDPE, since the fusion principle is the same across these thermoplastics. The heating temperature and pressure settings do need to be adjusted for each resin type, following that pipe manufacturer's fusion procedure.
How long does a single butt fusion joint take from start to finish?
Facing and heat soak typically take a few minutes combined, but cooling time dominates the total cycle since it runs at roughly 11 minutes per inch of wall thickness. A joint on a thick-wall large-diameter pipe can take well over an hour to fully cool before the clamps are released.
Do fusion machines need electrical power on site, or can they run off-grid?
Compact manual units for small diameter pipe often draw around 1,000 watts for the heater and trimmer combined, which a portable generator handles easily. Larger hydraulic machines used for bigger diameters generally need a more substantial power source or an engine-driven hydraulic pack.
What is the difference between fusion pressure and heat soak pressure?
Bead-up or drag pressure is applied briefly while the pipe faces first contact the heater plate to form an initial melt bead. Pressure is then dropped to near zero during the heat soak so the material can absorb heat without being squeezed out, and full fusion pressure is reapplied only once the heater plate is removed and the faces come together.
How can I tell if a fusion joint was made correctly after the fact?
A visual check of the external bead is the first and fastest indicator: it should be uniform in size around the full circumference with no gaps, discoloration or visible contamination. For higher-stakes projects, destructive testing of a small sample of joints or non-destructive bead inspection is used to confirm quality beyond a visual pass.